Tasks are well-defined items of work that can be assigned to an individual for completion. You can create standalone tasks (also known as orphan tasks) – like updating the images on a brochure – or attach them to a Project, which is usually comprised of a series of tasks.
This article will cover how to:
- Create Tasks
- Edit Tasks
- Duplicate Tasks
- Delete Tasks
- Filter or Change Task View
- Task Assets
- Add or Remove Tasks from Projects
- Comment on Tasks
Tasks are created when Workstream users complete a request form. (Read more about creating request forms.)
- Log in to Workstream.
- Click +New Task on the navigation.
- Click the
 icon under the request form that you’d like to complete.
Only request forms that a user has permission to view will display.
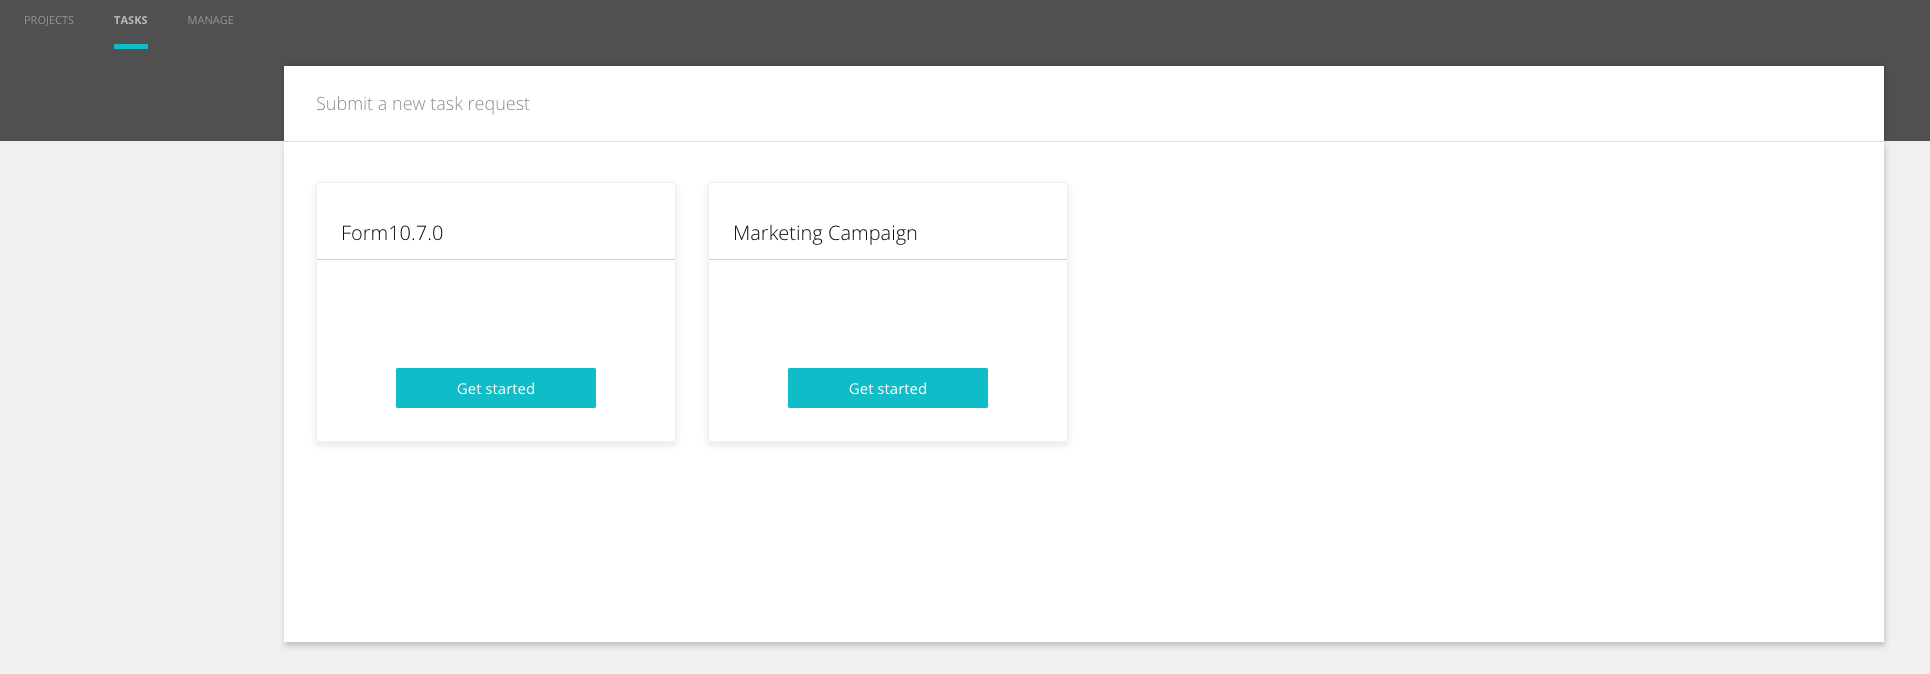
- Complete the form.
- Click Save for Later to save a draft.
- When finished, click Submit. This will create a new task.
- A new, unique task ID will be automatically assigned to your task. Task ID's contain only numbers and are located in the ID column on the task list page or above the name of the task in the task details page
- Administrators can view and edit all tasks.
- Contributors can view and edit tasks they’ve created or been added to as a watcher or assignee. If tasks are assigned to a project, contributors will only be able to view the task if they have permission to access the project. (Read more about projects.)
Tasks can be edited from the task details page:
- Log in to Workstream and click Tasks on the navigation.
- Select the task you want to edit.
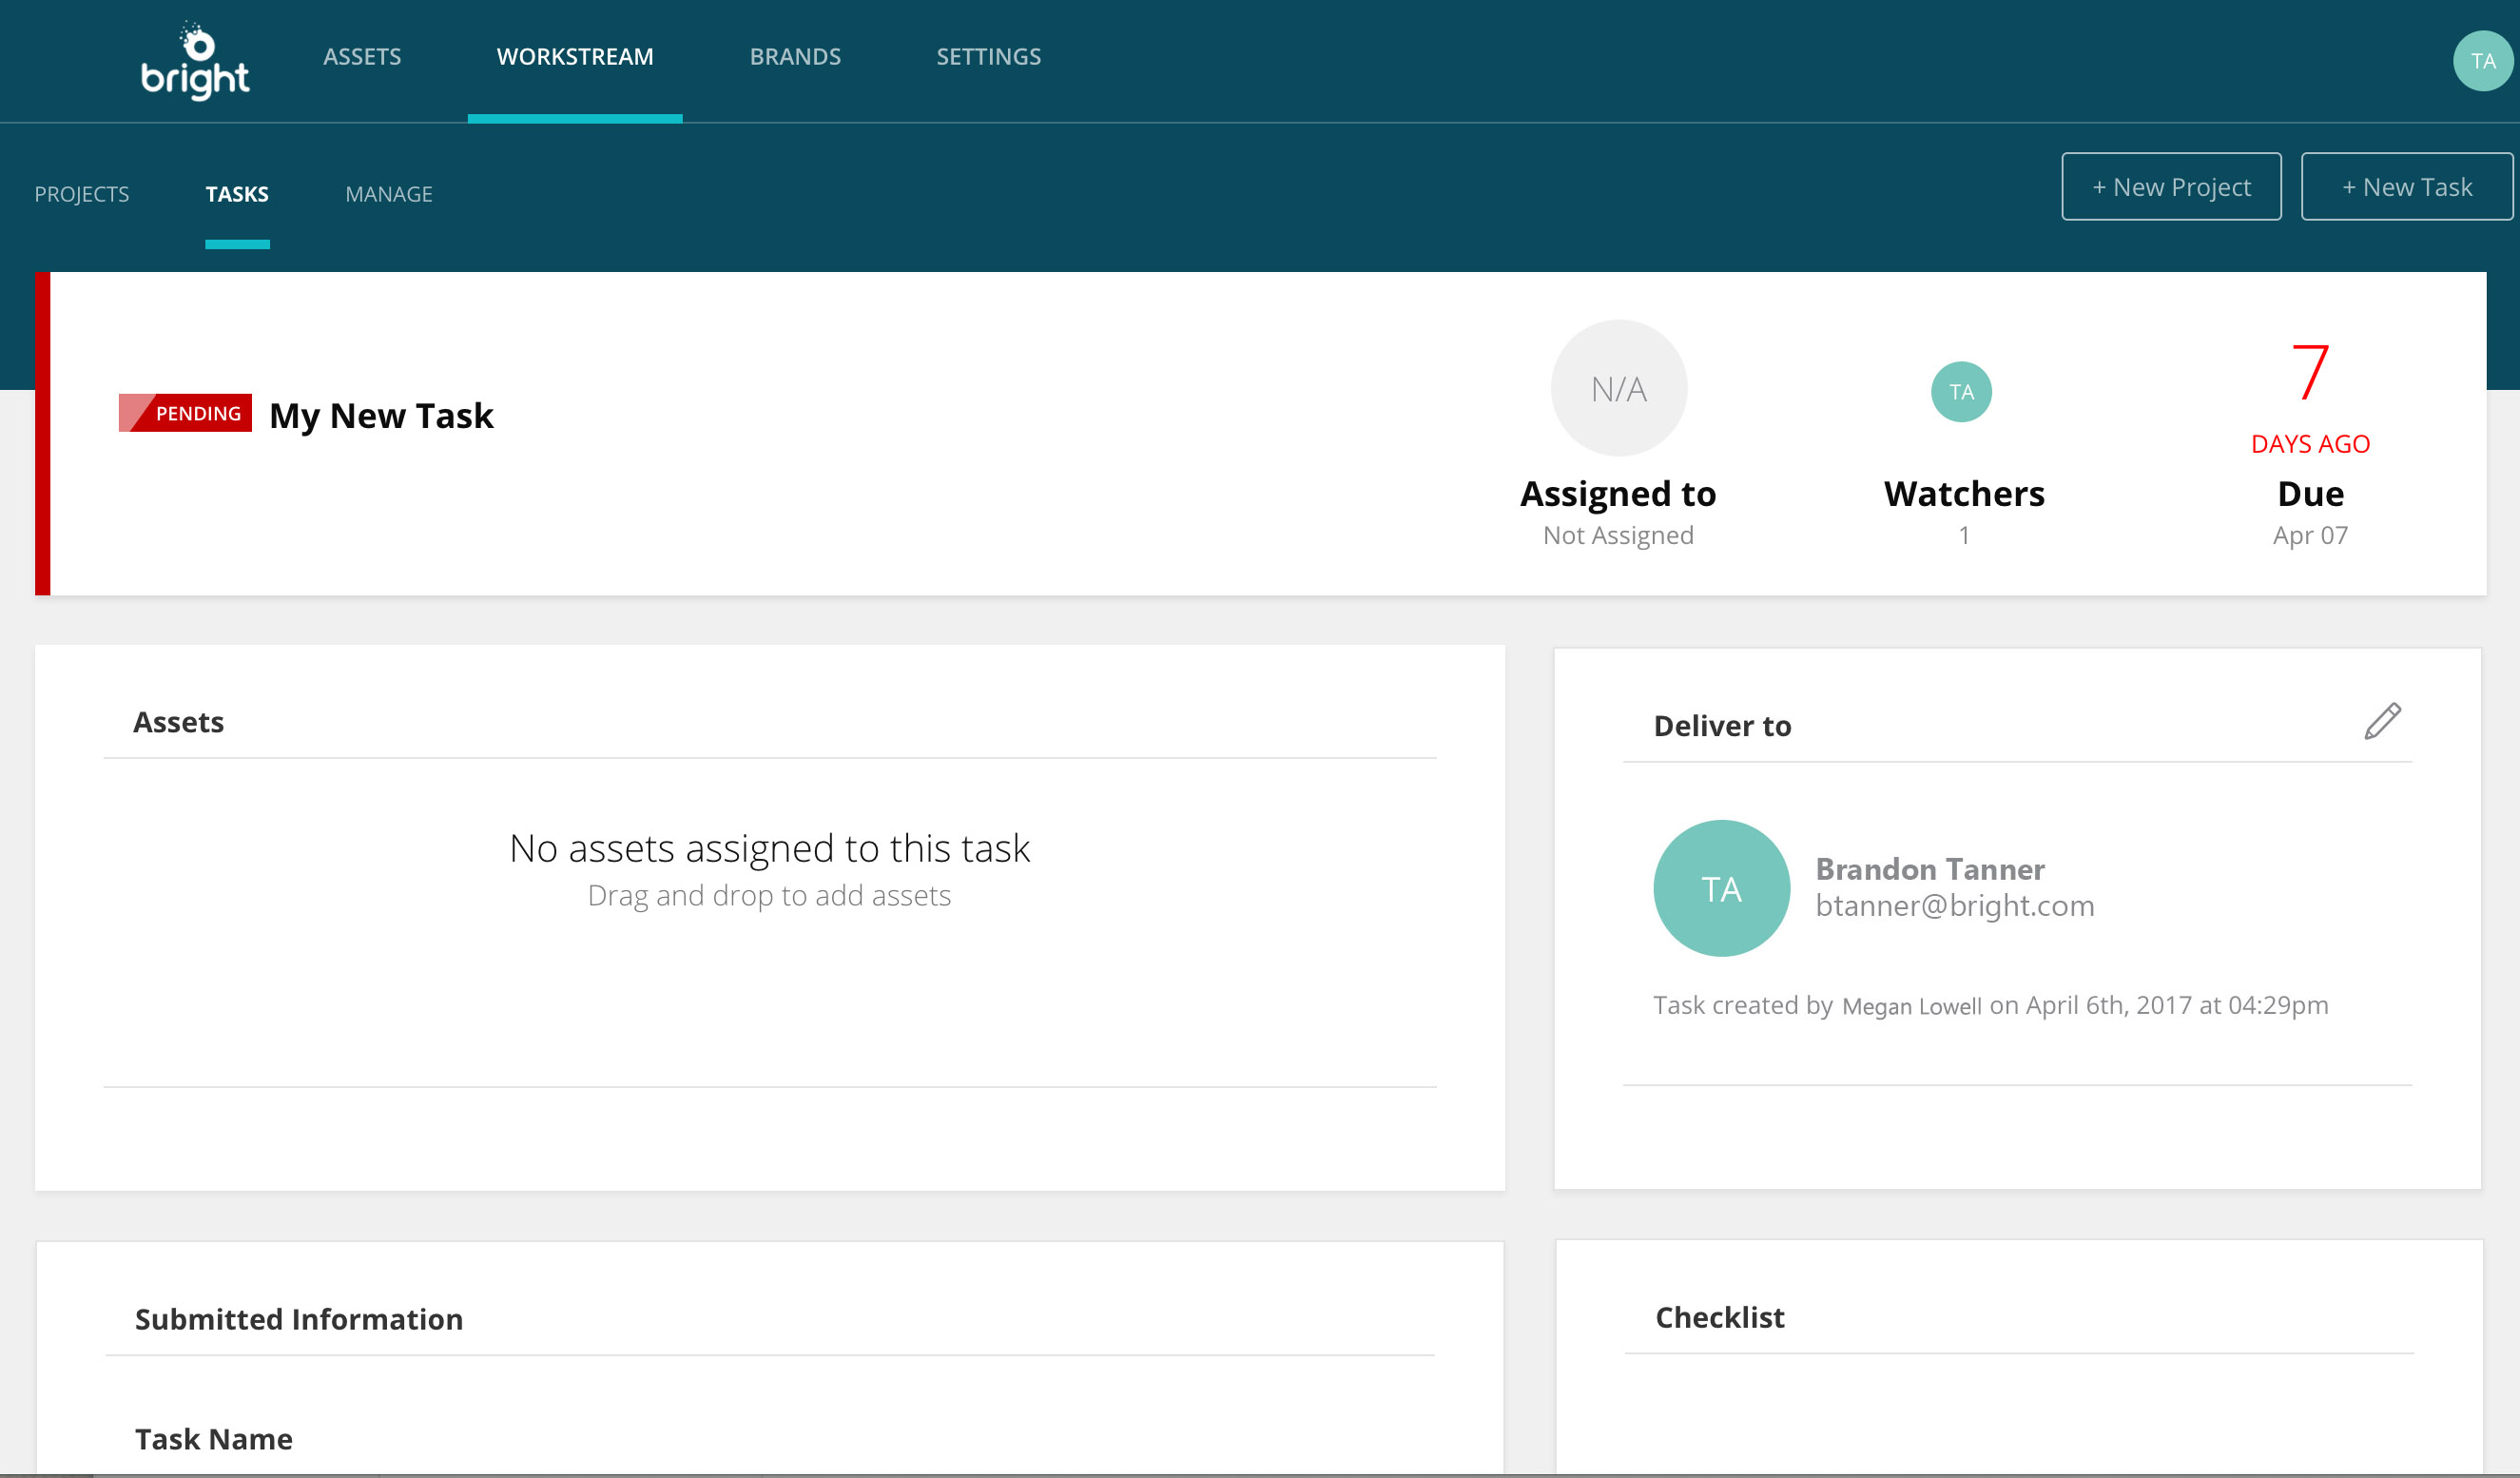
Assignee
After a task is created, it’s important to assign it to the appropriate user so they can begin their work. If a request form includes the Assignee field, the requester may have already filled in the assignee. We recommend that at least one Workstream user, typically a project manager, be responsible for maintaining task assignments and (as you’ll see below) due dates.
- In the task details page, hover your mouse over the Assigned To section and click the
 icon.
icon.
- Click Change Assignee.
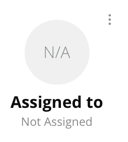
- Type in the name or email address of the user. Click their name once it appears in the dropdown.
- Click Save. The assignee will receive a notification that a task is assigned to them.
Contact Assignee
If there is an update or change to the task requirements, you may want to send a personalized message to the assignee.
- In the task details page, hover your mouse over the Assigned To section and click the icon.
- Click Contact Assignee. Contact Assignee will only display if the task is assigned to someone other than yourself.
- Enter the message and then click Send.
Due Date
If a request form includes the Due Date field, a requester may have already assigned a due date to the task. Similar to assigning a task, we recommend that at least one Workstream user, typically a project manager, be responsible for maintaining due dates.
- In the task details page, hover your mouse over the Due section and click the icon.
- Click Change Due Date.
- Enter the date and time that the task is due then click Save.
Task Name and Description
- In the task details page, hover your mouse over the task name or description and click to inline edit.
- Click anywhere on the page to save. A confirmation pop-up will appear in the lower-right corner of the screen.
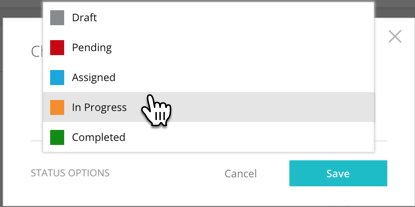
Status
Task statuses are a way for users to provide updates on the status of a particular task.
- In the task details page, click the status. You can also hover your mouse over the task name in the task details page or the task list, click the icon and select Change Status.
- Click the dropdown, select the new status and click Save.
Watchers receive notifications if the following changes or updates are made to a task:
- A new task is added to a project you’re watching.
- A task is assigned/reassigned.
- A project is created from a task you’re watching.
- The project sponsor changes.
- A task is completed.
- The launch date is changed.
In the task details page, hover your mouse over the Watchers section and click the icon. Note: Watchers are not available on orphan tasks.
- Add a watcher:
- Select Add Watchers - watchers must also be Workstream users.
- Type in the name or email address of the user. Click his or her name once it appears in the dropdown.
- Enter an optional message and click Save.
- Delete a watcher:
- Hover your mouse over the watcher’s name and click X.
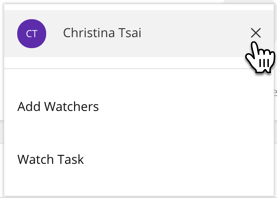
- You can add yourself as a watcher by selecting Watch Task. Remove yourself by selecting Stop Watching.
Contact Watchers
If there is an update or change to the task requirements, you might want to send a personalized message to all watchers.
- In the task list, hover your mouse over the task name and click the icon.
- Click Contact Watchers. Contact Watchers will only display if there is a watcher listed other than yourself.
- Enter the message and click Send.
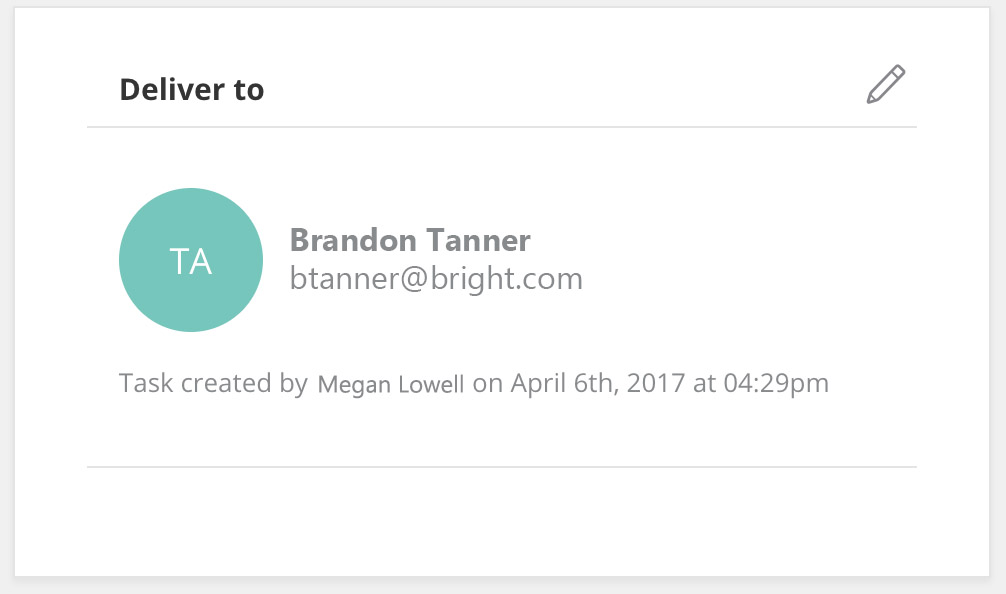
Recipient
Use this section to note who the assignee should deliver task to. By default, the task is set to be delivered to the creator of the task. To change who the task should be delivered to:
- Hover your mouse over the deliver to section and click the
 icon.
icon.
- Type in the name or email address of the user. Click their name once it appears in the dropdown and click Save.
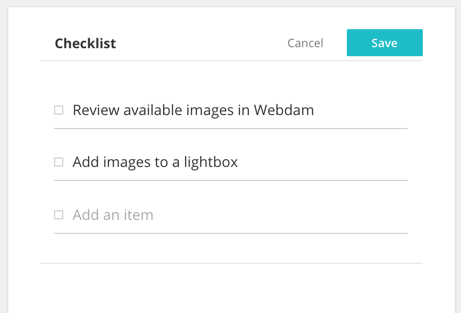
Checklist
Task assignees and other interested parties can add items to the checklist. The checklist can be used to break the task into smaller steps or as a to-do list. Completing/checking off items on the checklist does not affect the progress/completion percentage of a task or project.
- In the task details page, hover your mouse over the checklist section and click the icon.
- Click Add an item to edit/add information to the checklist. Click Save when done.
When a checklist item is completed, check the box next to it.
Keywords
Keywords entered into this section will automatically be appended to any new asset that is added to the Assets section of a task from anywhere other than your DAM. Keywords will not be applied to assets that you assign to the task from your DAM.
If a request form includes the Keywords field, a requester may have already entered keywords.
- In the Keywords section of the task details page, click Enter a new keyword and type in the keyword.
- Click tab or enter to create a new keyword. You can also add a comma after the term to add it as a keyword.
- To remove a keyword, click the x next to it.
Removing a keyword is not retroactive. It will prevent that keyword from being added to new assets assigned to the task, but it will not delete the keyword from assets that were previously added to the task.
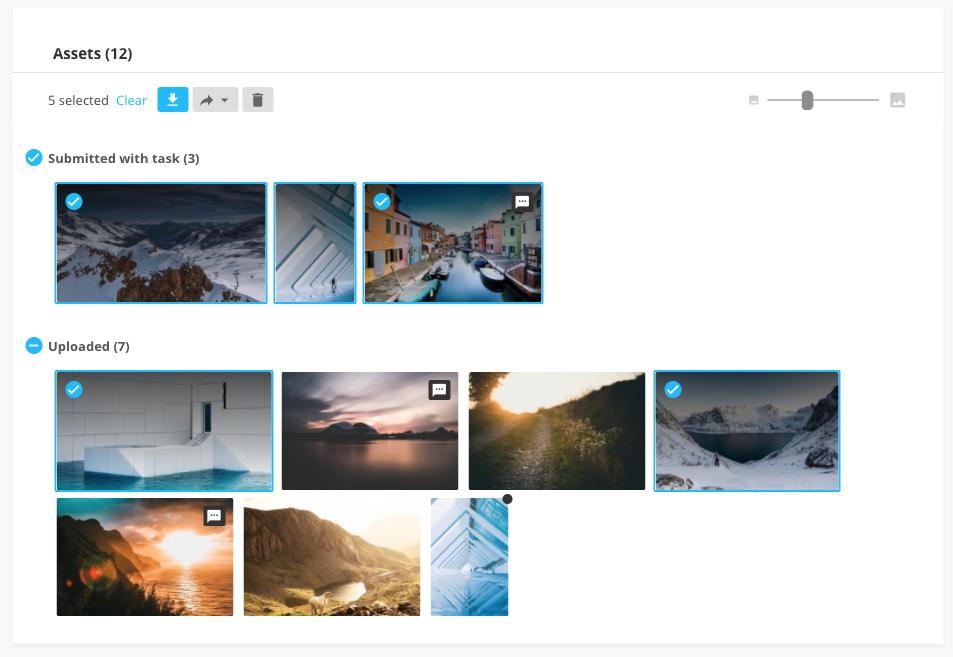
Task Assets
You can attach locally stored assets or existing assets from your DAM to the task. If a request form includes the Attachment field, a requester may may have already assigned assets.
Any assets attached to a task from locations other than your DAM will automatically be uploaded to a folder in the DAM called Workstream Assets. (Read more about the Workstream Assets folder.)
There are a few ways to attach assets to tasks:
- In the task details page, drag and drop assets into the Assets section.
- In the task details page, hover your mouse over the Assets section and click the + Add assets icon.
![]()
- Click From Webdam to select assets currently in the DAM.
- Click Upload to select new assets from your computer.
- To remove an asset, hover your mouse over the asset and click the
 icon. This will remove the asset from the task, but it won’t delete the asset from the Workstream Assets folder.
Interacting with task Assets:
- Task assets are organized by those Submitted with the task request form and Uploaded after the request form has been submitted.
- To collapse a section, hover anywhere within the section and click the
 icon. Use the same icon to reopen the collapsed section.
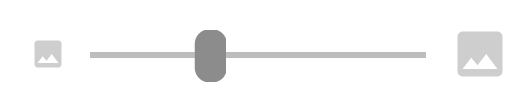
 - To view asset thumbnails in different sizes, adjust by dragging the sizing slider left to right:
- To select assets, hover and click the
 icon on an individual asset, or use the same
  icon to select an entire section.
 - To download, share, or remove selected asset(s), use the icons at the top of the assets section:
- Use the
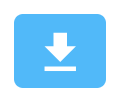 icon to download asset(s). Asset(s) will be downloaded in their original dimension.
 - Use the
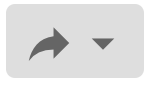 icon to share asset(s). Email Link, Email download, and Get links options are available for individual assets. Email link option is available for multiple assets.
 - Use the
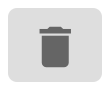 icon to remove asset(s). This will remove the asset(s) from the task, but it will not delete the asset from the Workstream Assets folder.
- Use the
Check out the video below to see the task Assets section in action, and learn about the Project Assets Section here.
Submitted Information
You can review and update the information filled out in the request form in the Submitted Information section.
- In the task details page, hover your mouse over the Submitted Information section and click the icon.
- Edit the information and click Save when done.
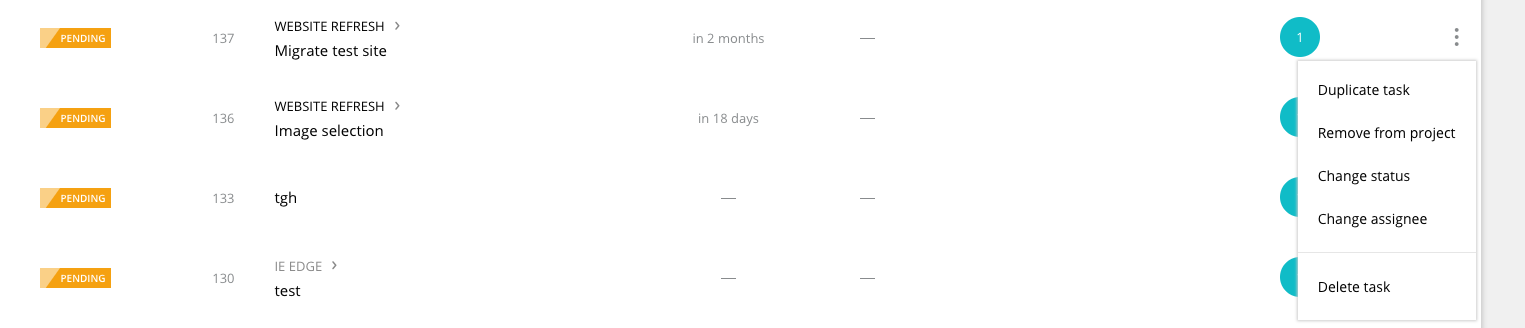
- In the task details page or the task list, hover your mouse over the task name and click the icon.
- Click Duplicate Task.
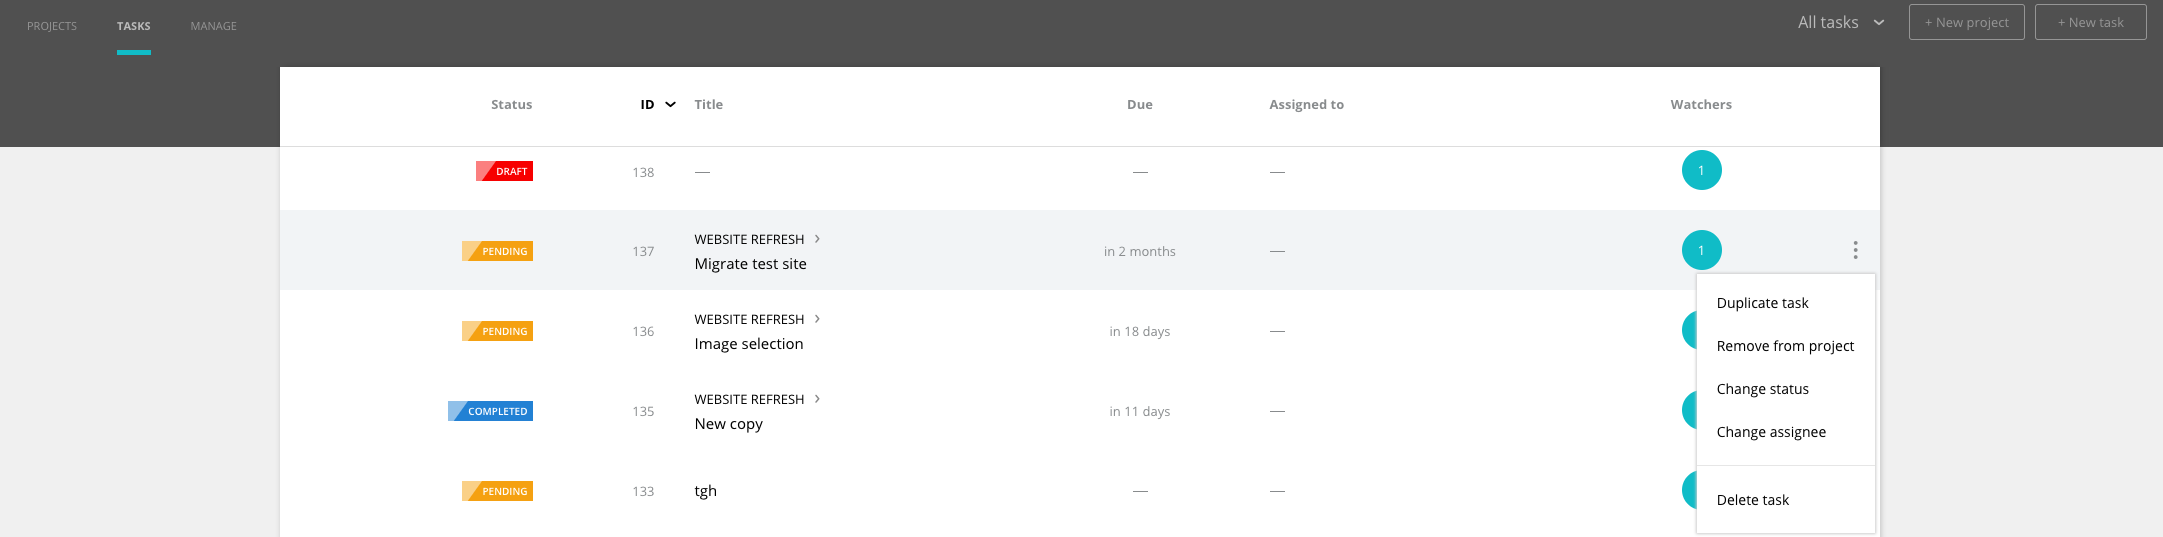
- In the task details page or task list, hover your mouse over the task name and click the icon.
- Click Delete Task.
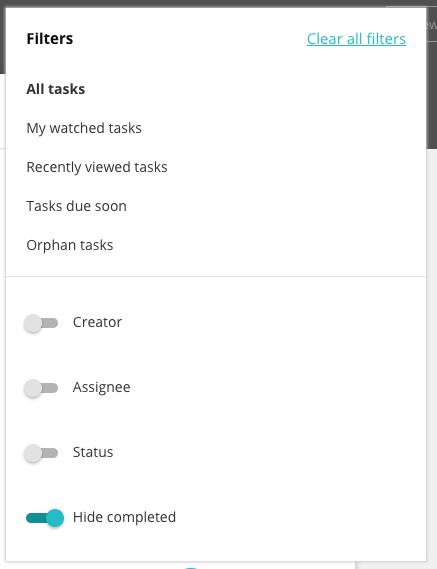
The default view for Tasks is the list view. You can filter the task list to display tasks in an order that best fits your needs.
- Click the column header to sort tasks by status, ID, assignee, etc.
- To further refine the way tasks are viewed and which tasks show in the task list, click All Tasks in the secondary navigation to reveal the Filters list. To filter by:
- Creator - to view tasks created by a particular person, toggle the slider to the on position and enter their name or email.
- Assignee - to see the list of tasks assigned to someone, toggle the slider to the on position and enter their name or email.
- Status - use the dropdown menu to select the status of the tasks you’d like to view
- Hide completed - when this is on, completed tasks will not show in the list or calendar view.
You can also view tasks in the Calendar View.
- Click the List/Calendar View dropdown
 in the secondary navigation and select Calendar View. This will show tasks in all stages of progress that month.
 - Use the arrows next to the name of the month and year to move between months.
- To change the view on the calendar, click:
- Week to see all tasks for the seven-day week. Note: the start of the week is based on your localization/region settings.
- 5 Day to see all tasks assigned over the next five days
- Month to see all tasks assigned that month. To hide weekends in the month view, move the slider at the bottom of the calendar to the right to the “on” position.
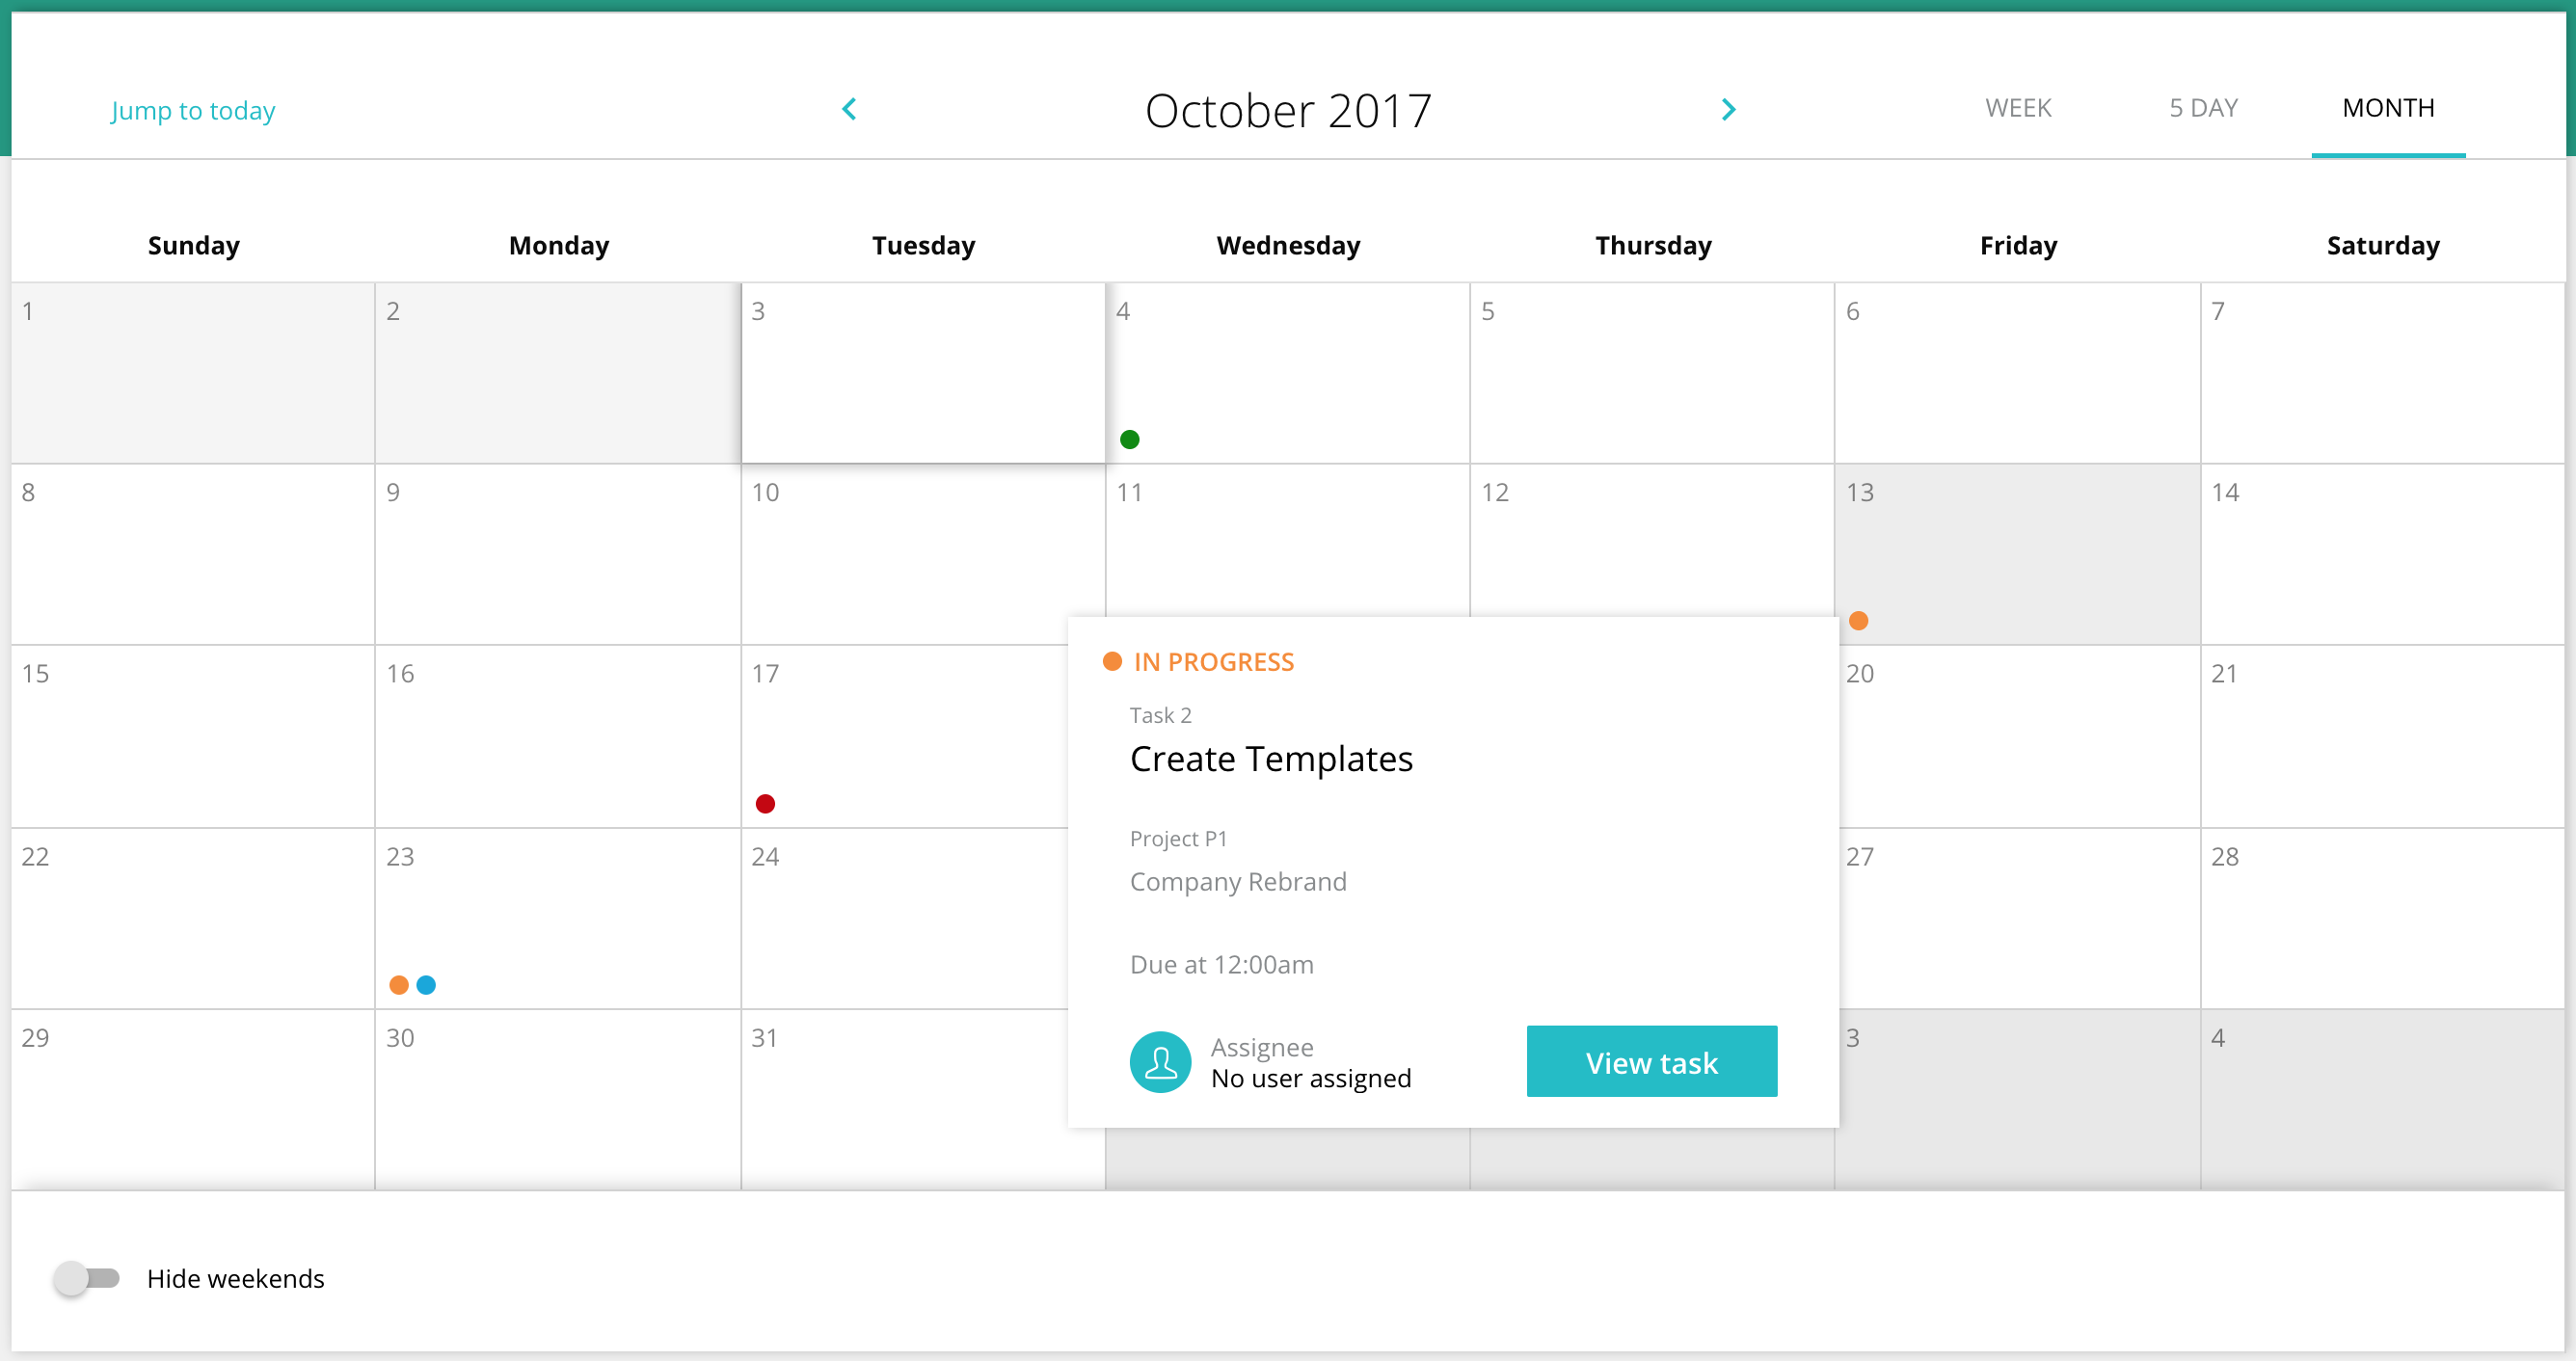
- The colored dots indicate a task due on that date. Click the date to see what tasks are due or mouse over the dot to see the status, name, task assignee or view the task.
Add or remove tasks from projects:
Tasks can be created as a standalone (or orphan task) or they can be attached to a larger project. Administrators can create a project from a task or move a task to an existing project.
- In the task details page or the task list, hover your mouse over the task name and click the icon.
- Select the following:
- Move to Project: Click the dropdown, select the existing project, then click Save.
- Create Project from Task: Enter the project information and click Create.
- Remove from project: This removes the task from the project that it has been assigned to.
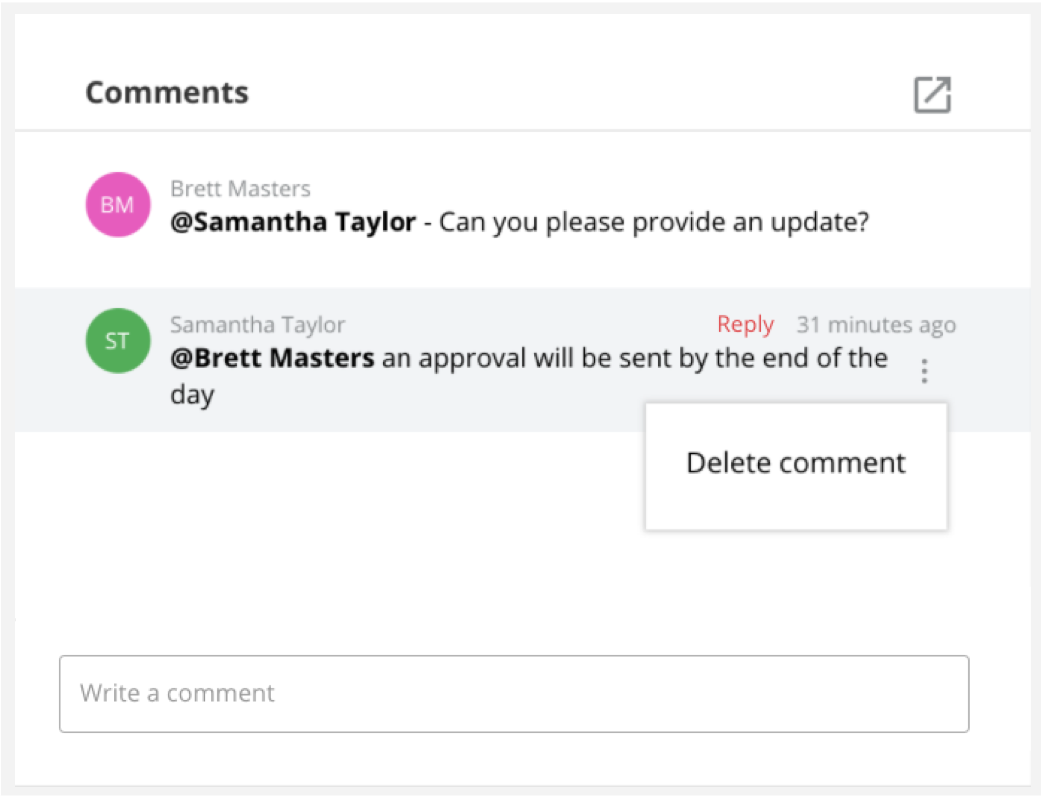
Workstream admins, watchers, assignees, approvers and those with access to a project a task is assigned to, can comment on tasks. Task assignees will receive email notifications to alert them of new comments.
- To mention someone in a task comment, type the @ symbol followed by their name or email address.
- To delete a comment, hover over the comment and click the icon and select Delete Comment. Admins can delete their own comments and comments of other users, all other users can only delete their own comments.
- To reply to a comment in a thread, hover over the comment and click Reply. A comment box will appear indented below the original comment, and pressing the Enter / Return bar on your keyboard will submit the reply.
Updated
Comments
0 comments
Article is closed for comments.